
ON THIS PAGE
How to use a Victor Professional
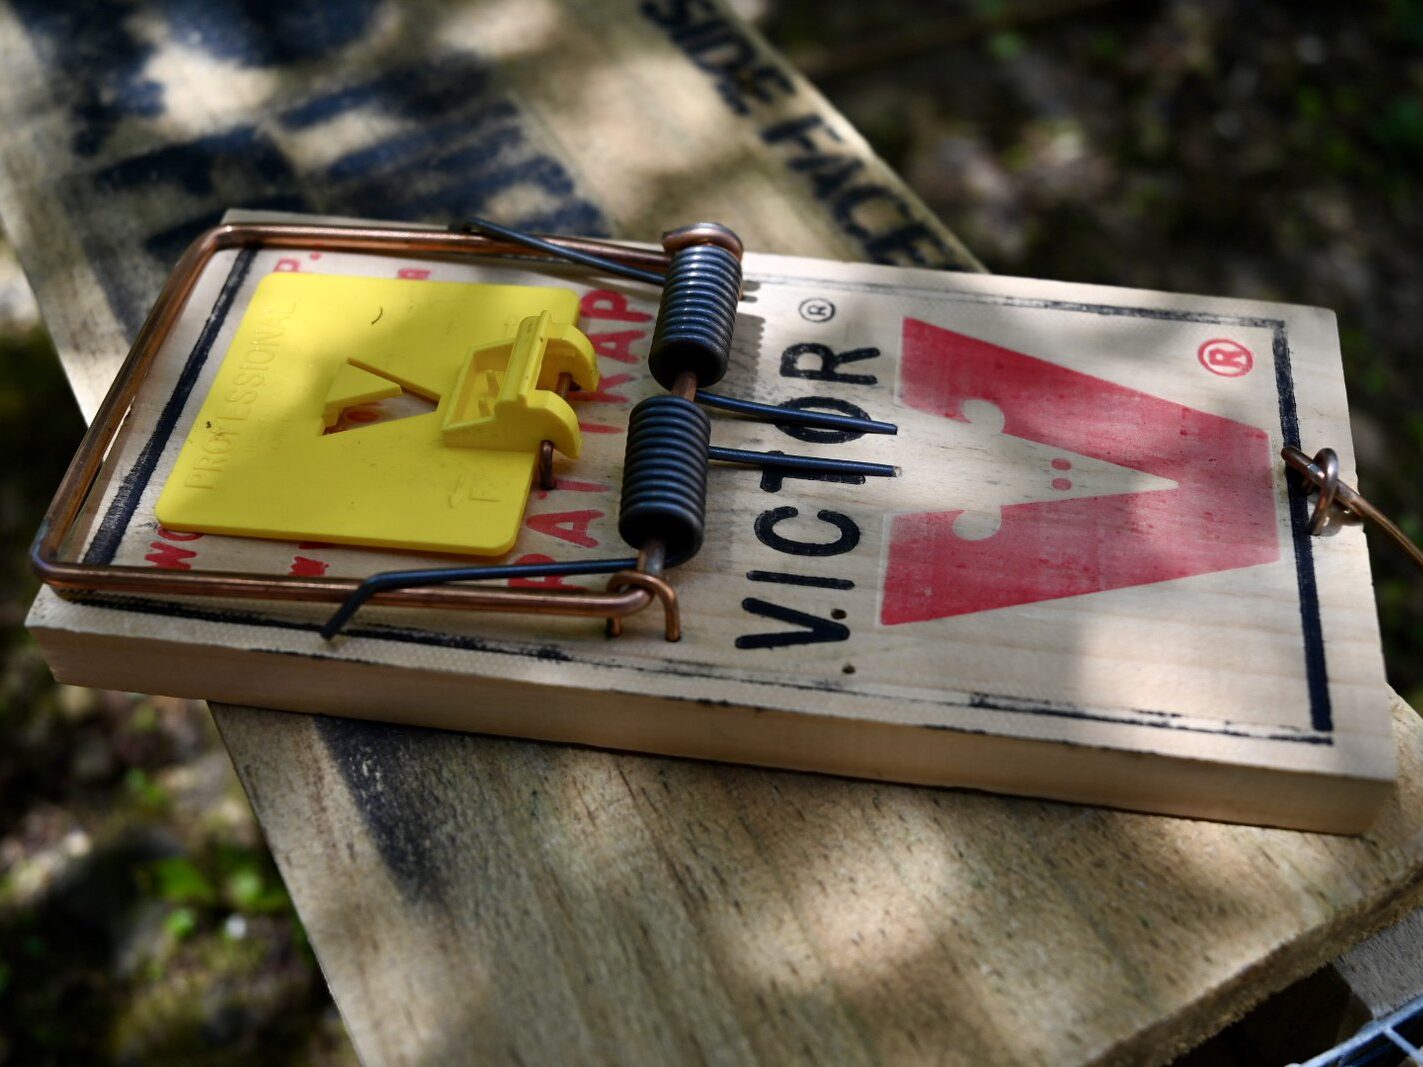
Watch this instructional video on how to set your Victor Professional rat trap.
- Make sure you always wear gloves when handling your trap or catches.
- Set up two to three Victor Professional rat traps in your backyard and make sure they are placed inside tunnels. Place them on a flat surface near fences, hedges, your/compost or somewhere sheltered.
- Bait traps with peanut butter, chocolate, mayonnaise, or nuts and seeds. Clean out manky bait and refresh often.
- Check your traps every couple of days until you’re getting results and the catch rate goes down, then check every two to three weeks. The more rats in the area, the more checks you will need to do.
- If you’re not trapping in your backyard, see our advice on trapping rats in the bush.
Top tips
- Before opening the tunnel, you can give the trap a shake to disable the trap inside.
- Bait your trap before you set it.
- Only hold the trap from the back (the part with the big red V).
- Use your thumbs to pull back the kill-bar to avoid accidents.
- If your trap is on unstable ground, set your trap to ‘firm’ rather than ‘sensitive’.
- When putting your trap into the tunnel, place it in bait-end (yellow) first.
- Make sure you place the trap at the back of the tunnel (opposite the small entrance hole), away from small fingers.
- If you caught something, double bag it and put it with your household rubbish or bury it in the garden. To remove rats from the trap, hold the trap over a bag and pull up the kill bar so the rat drops out.
- Soak the wooden bases in boiled linseed oil or a mix of peanut oil and sunflower oil – this keeps the wood in better condition and smells yummy for rats!
Download our quick trapping guide (PDF, 255KB) for catching rats in the backyard or bush.
Troubleshooting
- If you’re not catching any rats, here’s what you can do.
- If your bait is mysteriously disappearing but your trap isn’t catching anything, here’s our advice.
Where to buy the Victor Professional
You can purchase a rat trap and tunnel from our online shop. If you live in an area where there are weka present, you’ll need to purchase a slightly longer weka-proof tunnel, also available from our shop.
You can also make your own tunnel to house a rat trap.