ON THIS PAGE
What is a trapline?
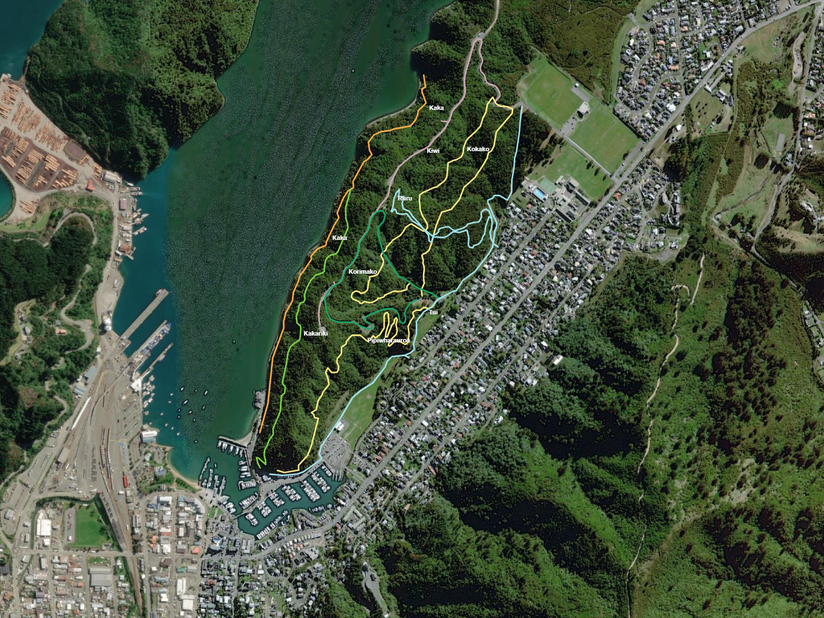
A trapline is a series of traps along a specific route for catching introduced predators over a large area. The trapline is marked, recorded, and then monitored regularly by checking, emptying, re-baiting and resetting the traps (unless they are self-resetting).
All traplines and trap locations should be labelled and recorded on a paper map or by using GPS (see our advice on online tracking and monitoring tools).
When and where to set up traplines
Before you set up traplines, you’ll need to gather this site-specific information:
- Which non-target species are present in the area (eg. invertebrates, native birds)? If you’re not sure, ask your local DOC office or regional council.
- Do you need permission to trap in the area (eg. from DOC, council, iwi, or private landowners)?
- Is there a naturally-occurring food source that target predators might favour over your baits? Does the food grow only during particular seasons?
- Does your target predator have season-specific behaviour that makes them easier to target at certain times of the year?

- Are rat numbers very high in the area? If so, self-resetting traps or bait stations might be more effective than manual traps.
- Is it a public area where people and dogs might be present? If so, consider their health and safety. For example, all traplines and traps should be clearly signposted and traps should be placed in tunnels.
- Are your volunteers sufficiently trained to handle the equipment and the area? See our group toolkit for advice on training volunteers and setting up good health and safety practices.
- Is the site surrounded by predator-dense areas? Is there a way to create borders and prevent reinvasion?
- Are kauri trees present in the area? If so, consult your local DOC office and read about their Kauri Dieback Programme for more information.
How to plot your traplines

Plot your trapline locations in advance on a map (i.e. before you head out into the bush) and consider ease of access when choosing a line’s starting point.
The spacing between your traps and traplines will depend on the size of the area you’re covering and the number of predators you’re dealing with.
Below are summaries of the recommendations made in the Department of Conservation’s ‘Practical guide to trapping’ (PDF, 5.5 MB) booklet.
For rats
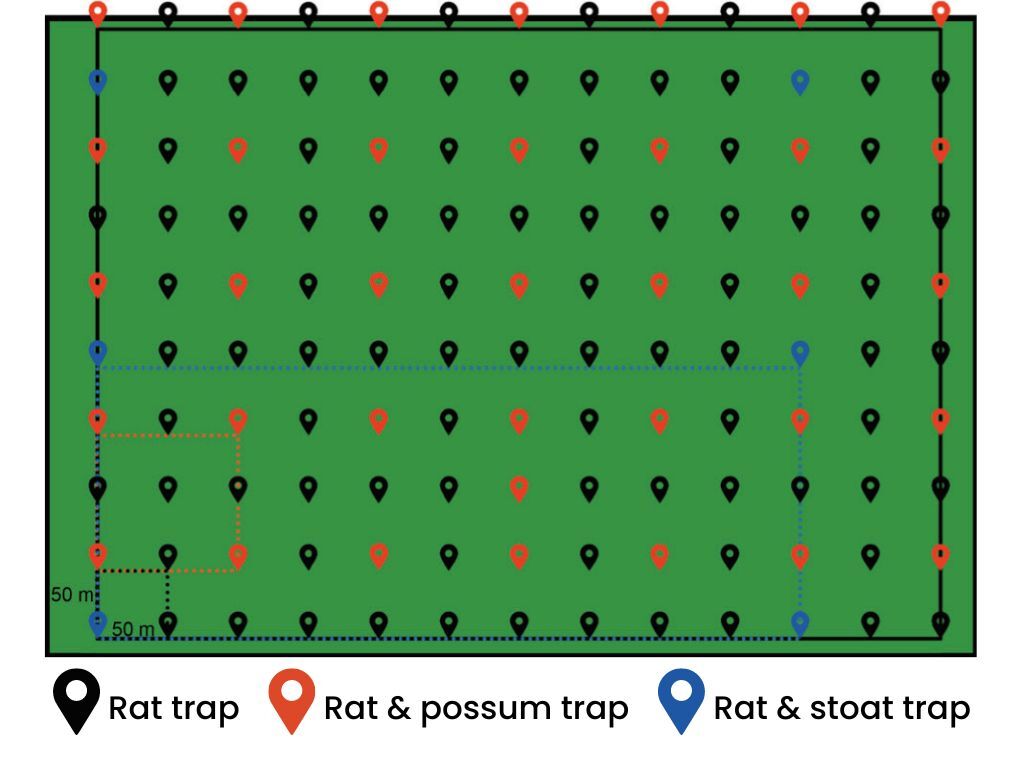
Plan to set your rat traps in a grid pattern. Spacing between lines: no greater than 100m. Spacing between traps on each line: 50m (25m along perimeter lines). In high-density rat areas, the internal spacing of traps should be 25m apart. Traps should be laid out on grids by compass bearing or, in rough terrain, placed on ridges and spurs. Spacing should be calculated as precisely as possible using a compass and hip chain.
For stoats
For broad-scale control, place traplines no further than 800m–1km apart and traps up to 200m apart. For intensive trapping, space traps 100m apart. Trap spacing should be calculated as precisely as possible using a compass and hip chain.
For possums
Plan to set your traps where you see obvious signs of activity. e.g. track marks at the base of trees and posts. Spacing between lines: 100m or less. Spacing between traps on each line: 20–40m initially, or up to 100m for low possum numbers or if using self-resetting traps.
Combining traplines
If you’re targeting more than one predator, you can combine your traplines to save time.
Lay rat traps first (see above), then stoat traps (this should result in approx. one stoat trap for every eight rat traps).
If possums are also present, lay traps along the 100m rat traplines about 20–40m apart initially for high numbers, then 100m apart or if using self-resetting traps.

How to mark your traplines

- Use your GPS device or paper map to locate and mark your trapline’s start point.
- Follow the compass bearing for the line and measure the distance travelled.
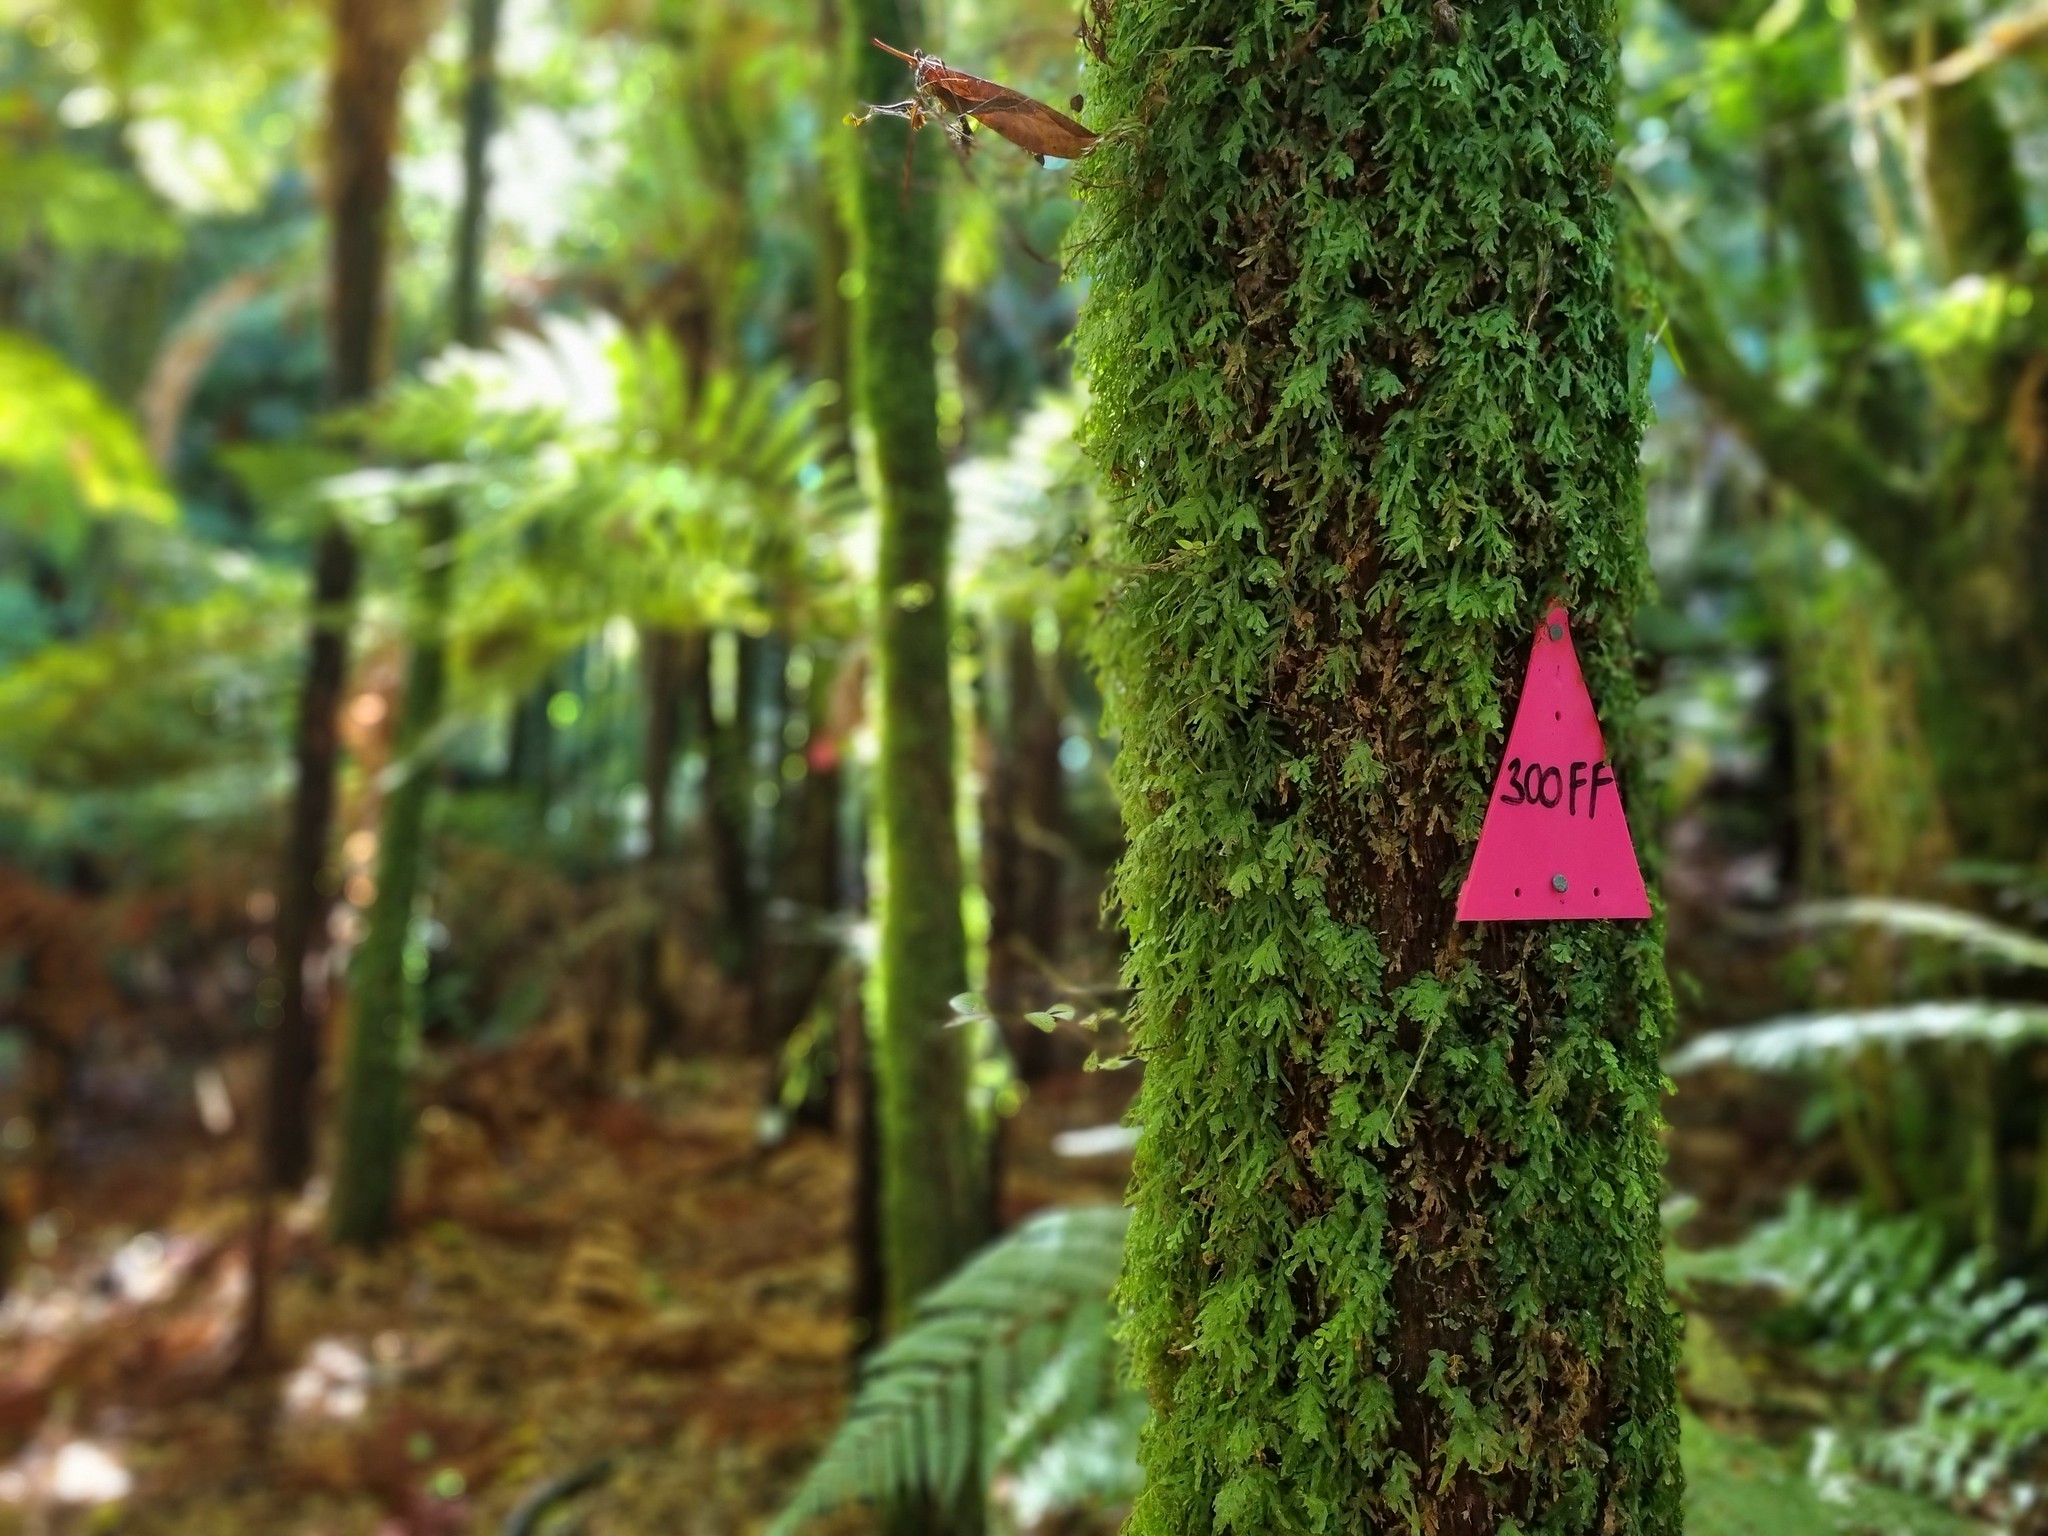
- Place markers and/or flagging tape (best practice is to use a fluorescent pink plastic triangle to identify a trapline, marked with an ID number and placed close to eye level) along each line to make it easy and safe to follow. Use double tape for the start and end points of the line. Your trapline markers should be visible from either direction. (Never use orange markers, as these are used to indicate DOC walking tracks.)
- At the relevant distance, place a device.
How to place and mark each trap
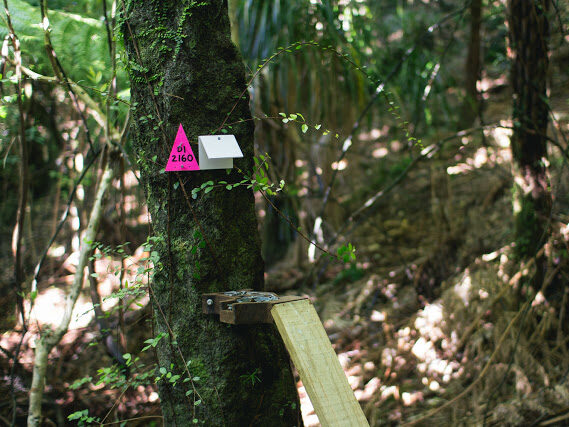
- Label the trap carefully using a plastic triangle or Allflex tag attached to the lid. Best practice is to use a blue plastic triangle to identify the location of each trap on the line. (Never use orange markers, as these are used to indicate DOC walking tracks.)
- Markers should be vertical unless the trap is not clearly visible on the trapline, in which case the marker should be on an angle. Markers should be visible from either direction.
- Traps should be placed less than a metre away from the trapline. They should be stable, with the tunnel lid screwed shut and the trap should be at least 40cm from the tunnel entrance.
- If using a tree-mounted trap, nail the tag to the tree.
- With a permanent marker, clearly write the name of the trapline and the trap number on the triangle e.g. Line A, trap 6 = A6.
- Mark the location of the trap on your paper map or GPS device.
- Repeat the steps above until all your traps have been placed and set.
For more, see DOC’s checklist for how to establish a trapline (PDF, 6.4MB, p. 48). Te Pūkenga also offers nationwide courses on developing an effective predator control plan.

