
ON THIS PAGE
Trail cameras can be an effective and highly sensitive tool for monitoring wildlife and predators especially those that are shy of other monitoring tools like tracking tunnels. Trail cameras (sometimes known as camera traps) can capture a wide range of animals and provide insights about animal behaviour, helping you improve your trapping.
You don’t need lots of cameras to get started: start small, learn what works, then build from there. If you have clear goals, you can fine-tune your approach. More can be found in our trail camera guide (PDF, 11 MB).
Choose your goal
Think about the questions you are trying to answer before deciding on a camera and its set-up. We’ve identified three common goals, with increasing levels of commitment and investment:
Observing animal behaviour
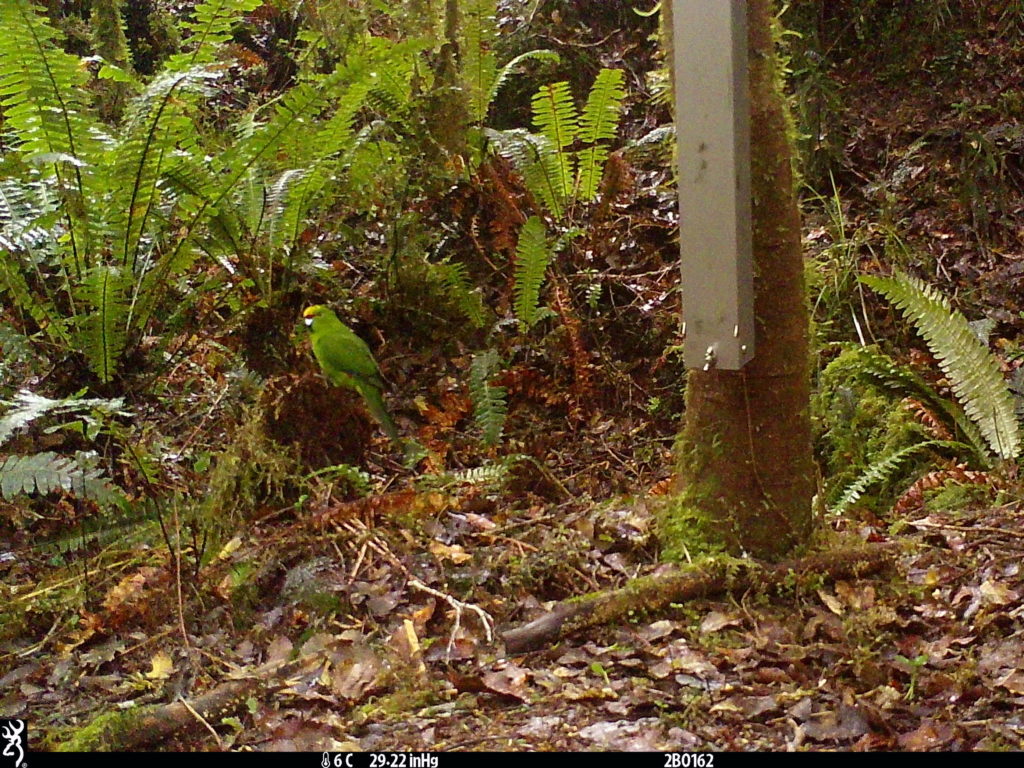
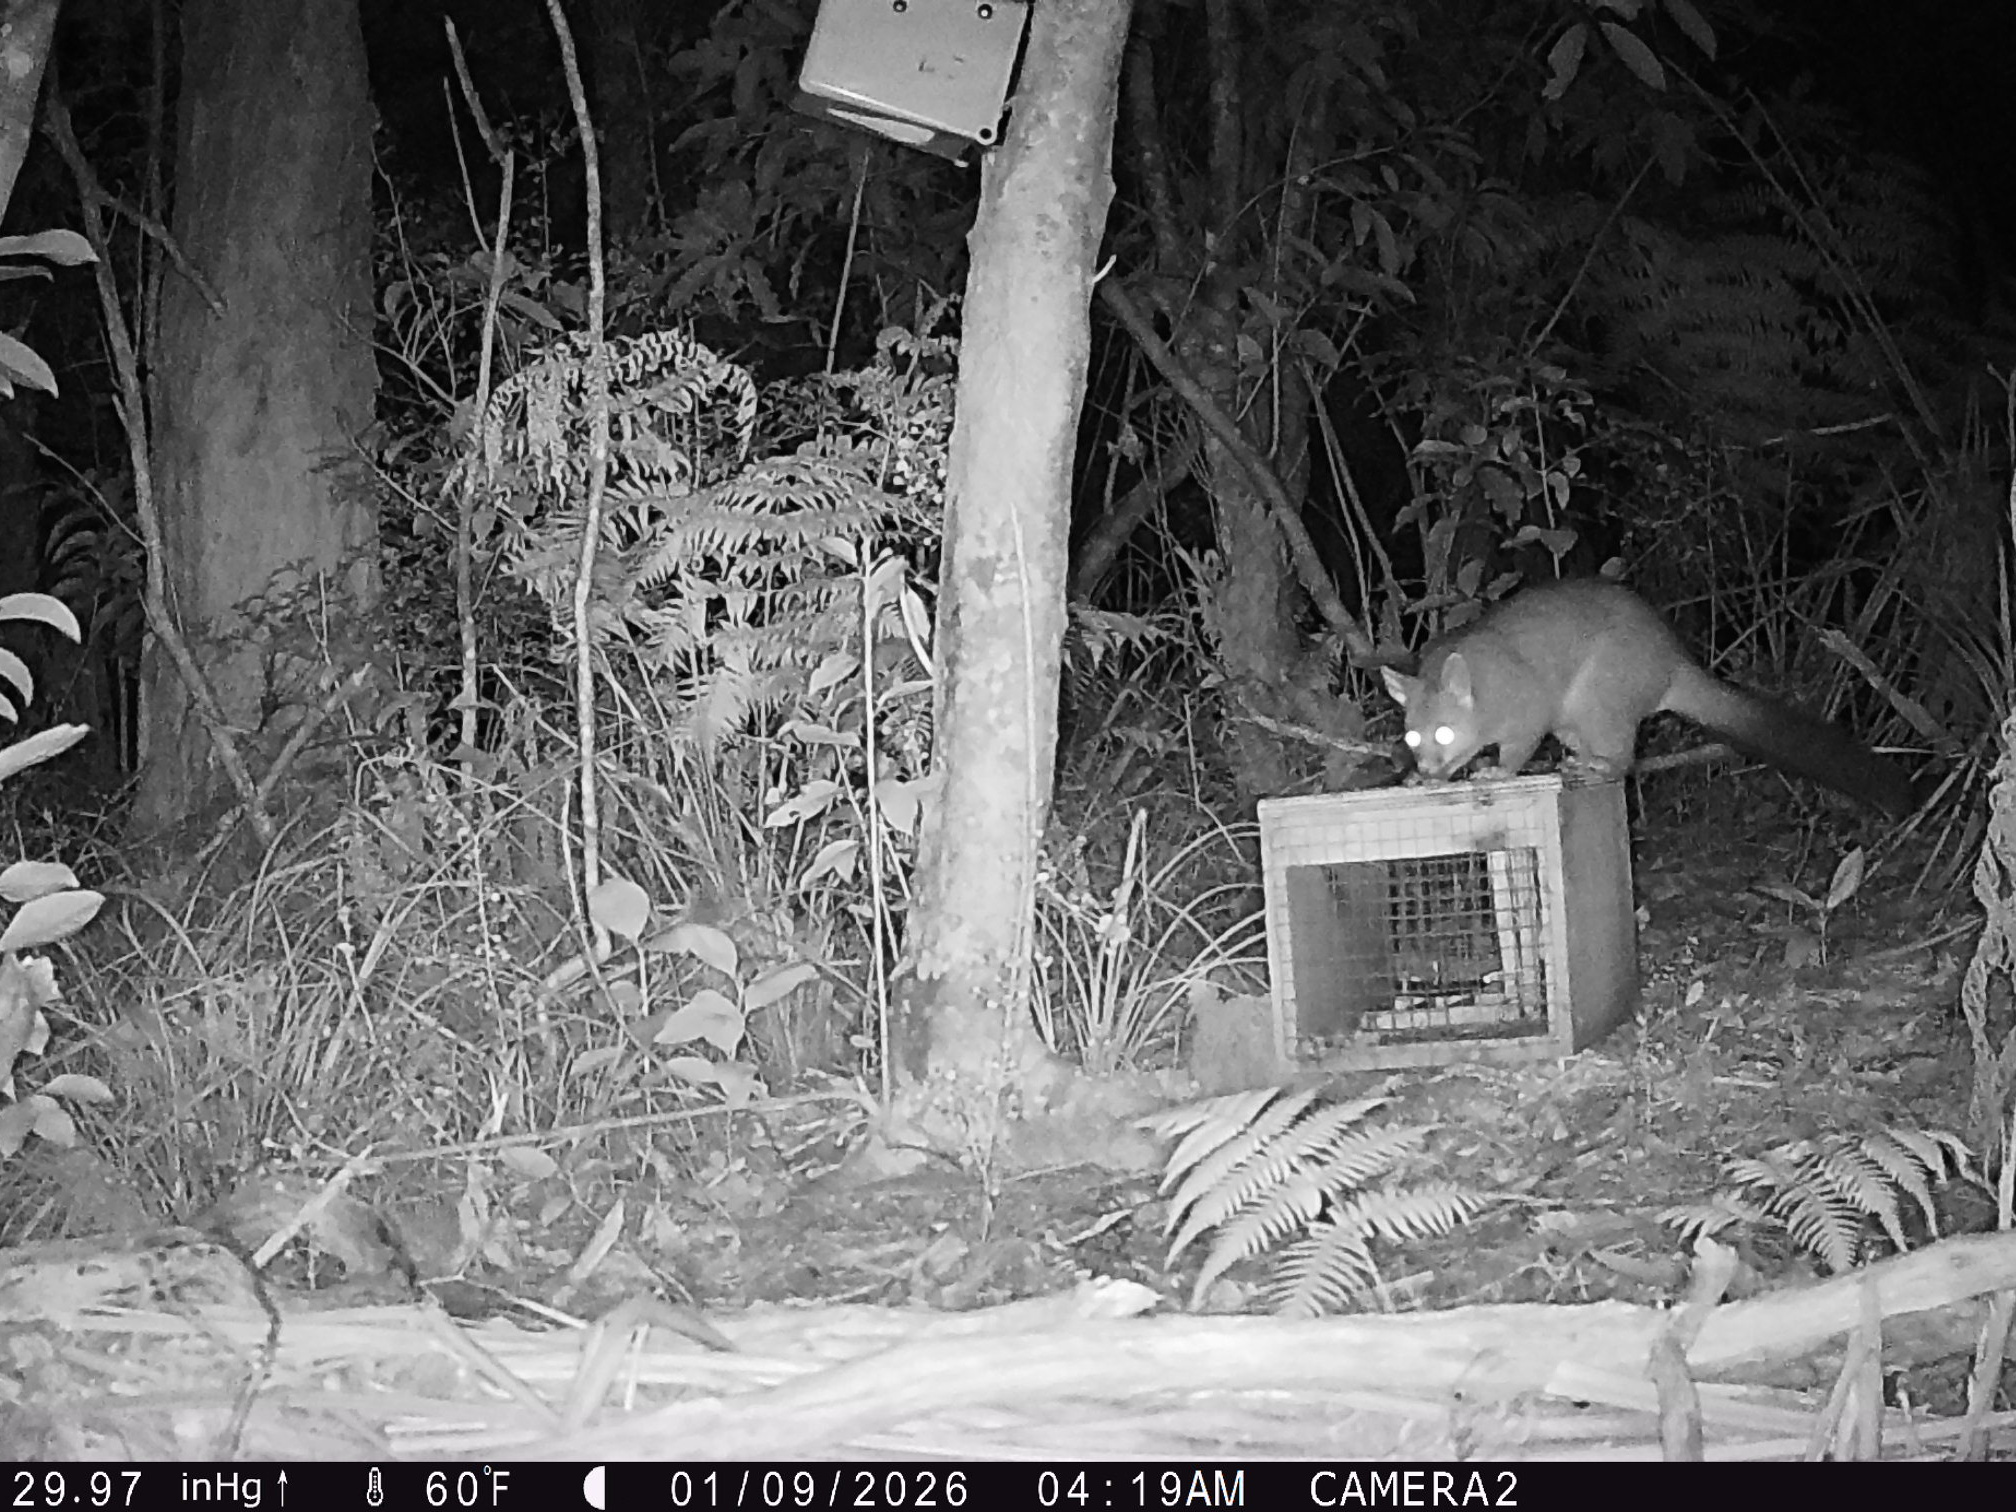
See what’s happening around your traps, what’s working and what you could change. For example, you may see that bait is being taken from your traps, or that some lures work better than others. Videos are especially useful for seeing what animals do, and for engaging volunteers.
- 2-3 cameras will give you plenty of information to learn from
- Move your cameras to focus on different devices as needed
- Videos are better than still photos, but take more time to review and use more battery and storage
Detecting what predators or wildlife are present
See seasonal changes and get a baseline for comparison before starting predator control, so you can measure your impact. Also useful for seeing what native wildlife is around.
- 5+ cameras ideally (depending on your project area and target species)
- A mix of photos (3-5 rapid fire) and videos is effective
- Lure the camera sites
- Be consistent: use the same site, time, lure and settings
- Continue other monitoring methods eg. tracking tunnels and chew cards
Monitoring predator numbers over time (advanced)
If you want to measure change, tell your story and share your impact. Also useful for groups assessing whether an area may be suitable for species reintroductions. Specialist help is recommended.
- Multiple cameras. The number depends on the home range of your target species, e.g. approx 1 camera per 25 hectares for cats and mustelids
- Seek planning help from a local predator control specialist, DOC office or regional council
- Tracking trends and indices takes significant budget and time
- Continue other monitoring methods
Top tips for camera placement and set-up
A well-positioned camera will capture more useful footage, reduce false triggers and make it easier to answer the questions you’re asking.
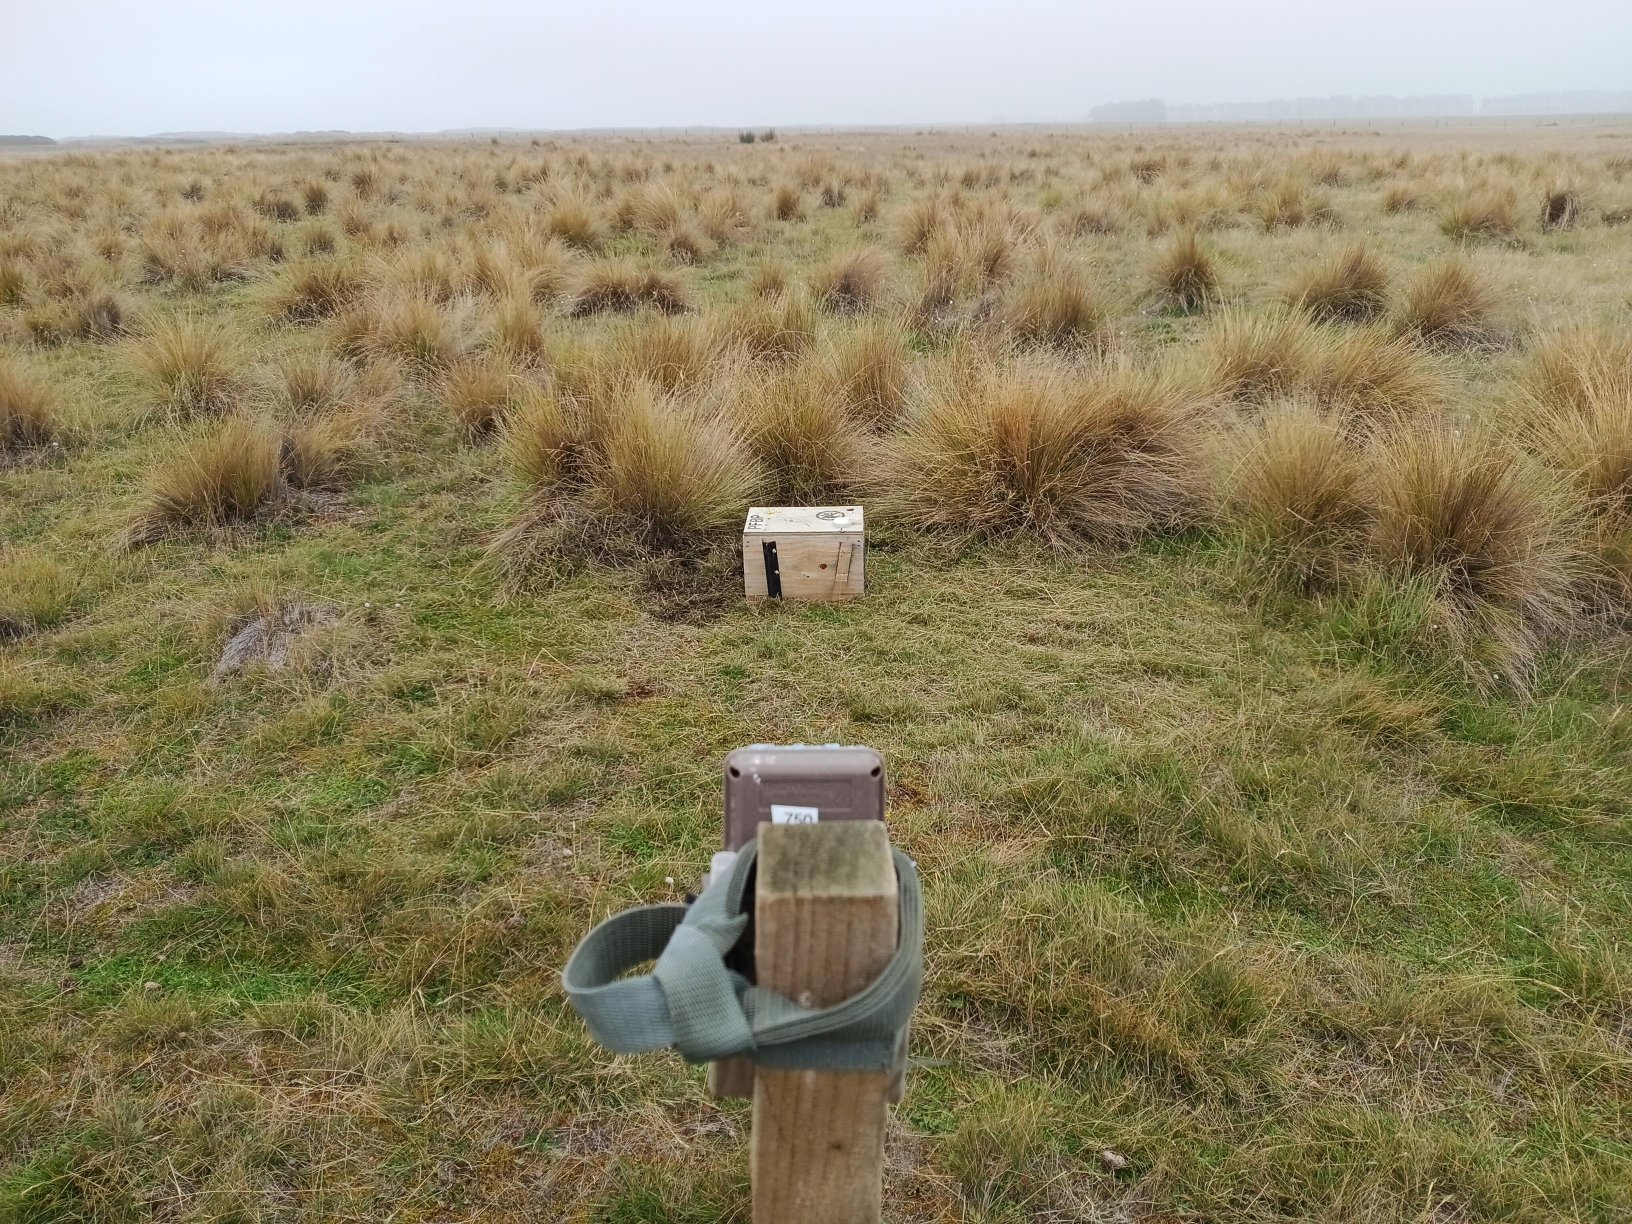
- Point the camera between south-east and south-west to prevent the sun and moon shining directly into the lens.
- Choose sites where predators or wildlife are likely to travel; don’t stick to a rigid grid. Move your cameras around to better spots if you’re not seeing anything.
- Position your camera first, then place the lure (eg. a trap, chew card, or auto-lure dispenser) centred in the viewfinder so you can use it for scale, eg when distinguishing between mice and rats. It’s easier to adjust a lure than to reposition the whole camera.
- Attach the camera to a sturdy tree or post, making sure it doesn’t sway in the wind. Angle the camera if needed: a cheap rubber door wedge is useful for this. Sticks work but can rot or get bumped.
- Keep cameras secure. If theft is a concern, place cameras away from busy walking tracks. Security cases, cables and locks can provide extra protection.
- Reduce false triggers. Clear leaves, grasses, ferns etc to approx two metres in front of and behind the camera. Ensure the camera strap doesn’t flap, and check for shiny objects, such as metal traps or even cobwebs, that could reflect sunlight.
- Always set up and service your cameras in dry conditions, or use an umbrella or tarp. Most cameras are vulnerable to moisture when the cover is open.
Camera set-up and lures also depend on your goals and the wildlife or predator species you are trying to learn more about. More detail is in our trail camera guide (PDF, 11 MB).
Cameras take time
Factor in time to review footage. The value of trail cameras comes from watching what animals do and using those insights to improve your trapping. AI and image classification tools can speed up sorting and tagging, but they won’t always capture behavioural patterns or subtle details. A manual review is still important! This is a great role for volunteers who prefer to stay indoors rather than out on the trapline.
What’s the difference? Trail cameras, thermal cameras and networked cameras
Conventional trail cameras are triggered by motion and light sensors. Decent models offer high-resolution images and video at a reasonable price. See our trail camera guide (PDF, 11 MB) for three recommendations (as of 2026).
Thermal cameras like the DOC AI Cam from the Cacophony Project are higher quality and capture nearly all movement, including smaller, faster predators and come with a large battery and a significant price tag.
Networked cameras like WiseEye are an alternative to SD-card trail cameras. These upload images and small videos directly over cellular networks so you get updates via mobile phone or email.
You can download our trail camera guide (PDF, 11 MB) or print it for your group.