
ON THIS PAGE
Wellington City Council have come up with some simple steps to predator proof your compost bin, which we have summarised below.
What you will need
- Galvanised wire mesh (holes no bigger than 1.25cm, as mice and baby rats can squeeze through anything bigger) approximately 1.25m x 1.25m square.
- About 20 plastic cable ties. You could also use wire, but cable ties are faster and easier.
- Gloves and safety glasses.
If you have a square bin you will also need:
- Sturdy tin snips or cutting pliers (known as diagonal pliers) ideally with blades set at an angle from the handle, as they keep your hands clear of the mesh while you cut.
- A drill and drill bit approximately 5mm diameter — check your cable ties can pass through.
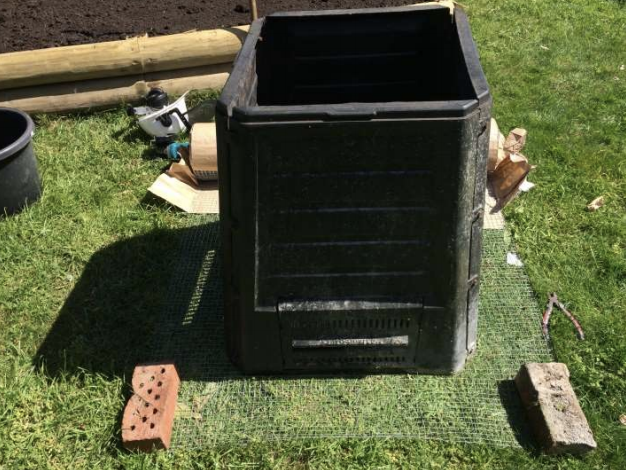
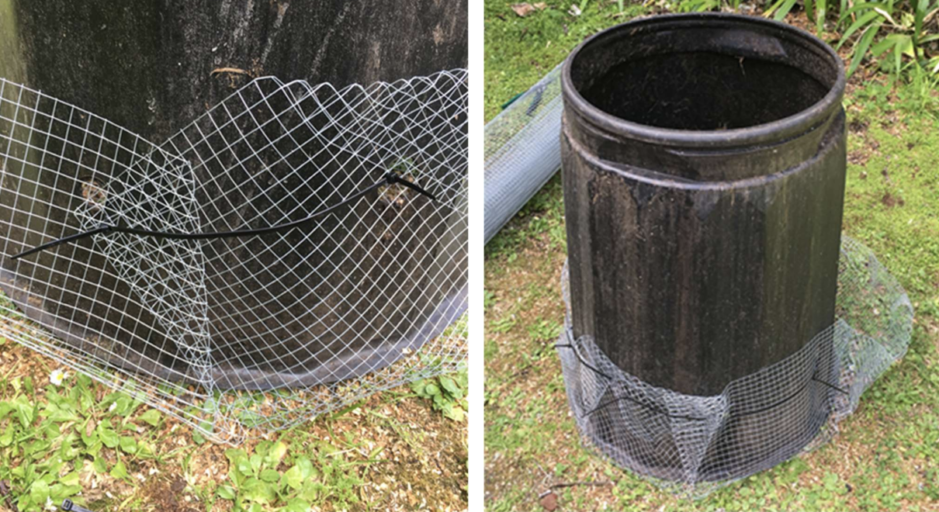
Step 1: Lay out the mesh
If your mesh is in a roll, it will want to spring back on you as soon as you let it go.
It’s helpful to weigh down the edges with something heavy like old bricks or a piece of wood while you work.
Ideally you want 10-20 cm overlap on each side of the bin. This is so you can ‘wrap’ the bottom of the bin thoroughly later.
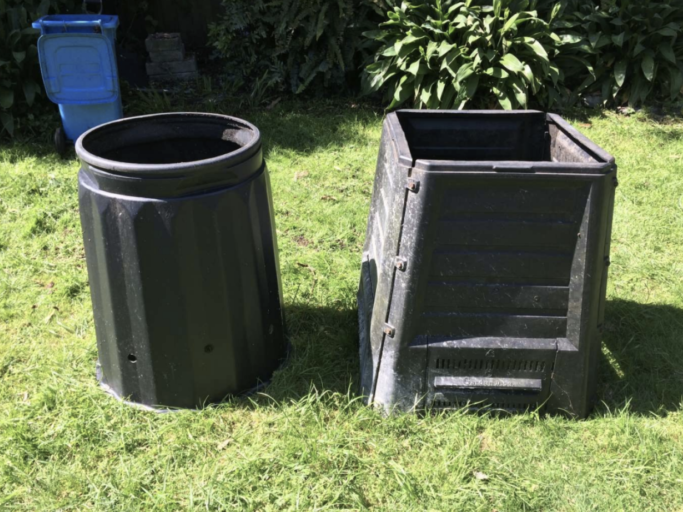
The compost bin pictured has sliding doors and ventilation holes which, after time, can break and become big enough for rodents to enter.
The mesh should be long enough to cover all of these potential rodent entry points.
Step 2: Fold the wire mesh to wrap the compost bin
Use a piece of wood and/or bricks as weights and fold the mesh one side at a time. Each fold needs to be as close to the bottom of the bin as possible and extend at least 10cm up the side of the bin when done.
Step 3: (Square bins only) Cutting wire to fold
Once the fold is made, cut along the fold line (indicated by red lines in the picture) until you are about 1-2cm short of reaching the bin.
This will create a wire mesh flap which can then be folded around the bin so that it sits underneath the next side to be folded up.
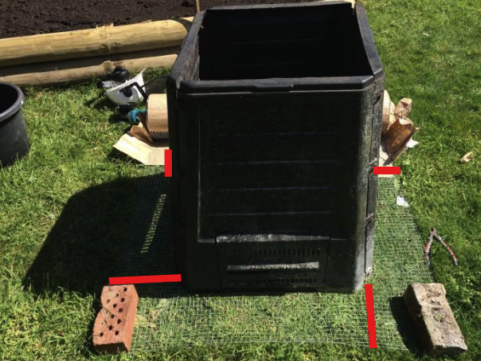
Continue to work your way around the bin, one side at a time.
Folding up each side, then cutting along the fold line so the wire mesh flap can be wrapped around the next corner.
Don’t worry if it’s not perfect, the cables ties will pull it all tight.
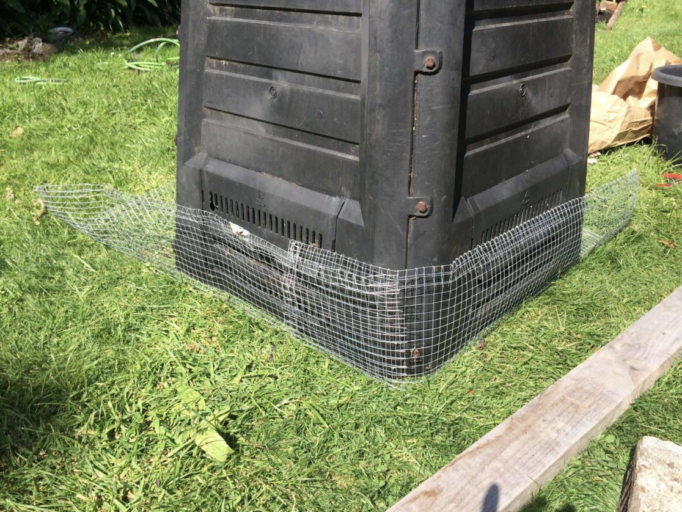
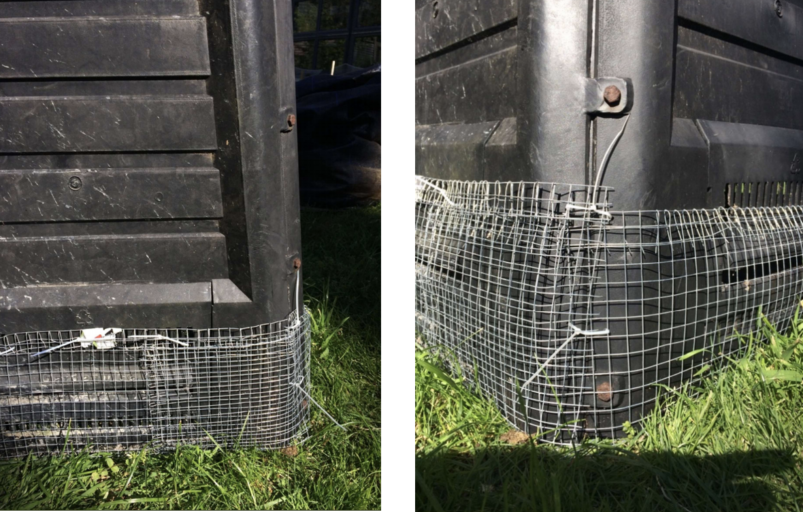
Step 4: Cable tie the mesh to the compost bin
Keep the ties loose until you have been right around the bin.
For round bins fold the wire and cable tie it securely using the aeration holes by connecting two cable ties together.
Ensure the aeration holes are completely covered.
Keep the ties loose until you have been right around the bin.
For square bins you can use a combination of your drill and the existing aeration holes to thread your cable ties through the mesh and the plastic of the compost bin.
Keep the holes a couple of centimetres apart — ideally you want to lace-up at least 2 mesh squares when pulling it tight.
Try and gather up the edges and seams of the mesh where it overlaps or is bulging out, this will make sure everything fits nice and snug when you pull the cable ties tight.
You are done!
Note: You can also cut off the cable tie ends.
Just be aware that this can leave a small, sharp piece of plastic sticking out; aim to cut them as close as possible to the locking mechanism on the cable tie and make it a square (right-angle) cut, as opposed to diagonal which makes them even sharper.
