
We have some easy ways to set yourself (and your traps) up for success using trail cameras. Predator control specialist Cam Speedy’s five simple tips will improve your camera skills in no time.
If you’re tired of empty traps, you’ve probably realised it’s time to expand your trapping toolkit. Wildlife biologist Cam Speedy has over four decades of experience when it comes to working with introduced predators.
Cam has seen how trail cameras transform people from ‘trap checkers’ to ‘predator ninjas’ who are always one step ahead. Often the community groups and people he works with will “go from thinking they’re not catching anything because there’s nothing out there, to realising that these animals are smart.” Outsmarting them requires creativity – and that’s where trail cameras come in.
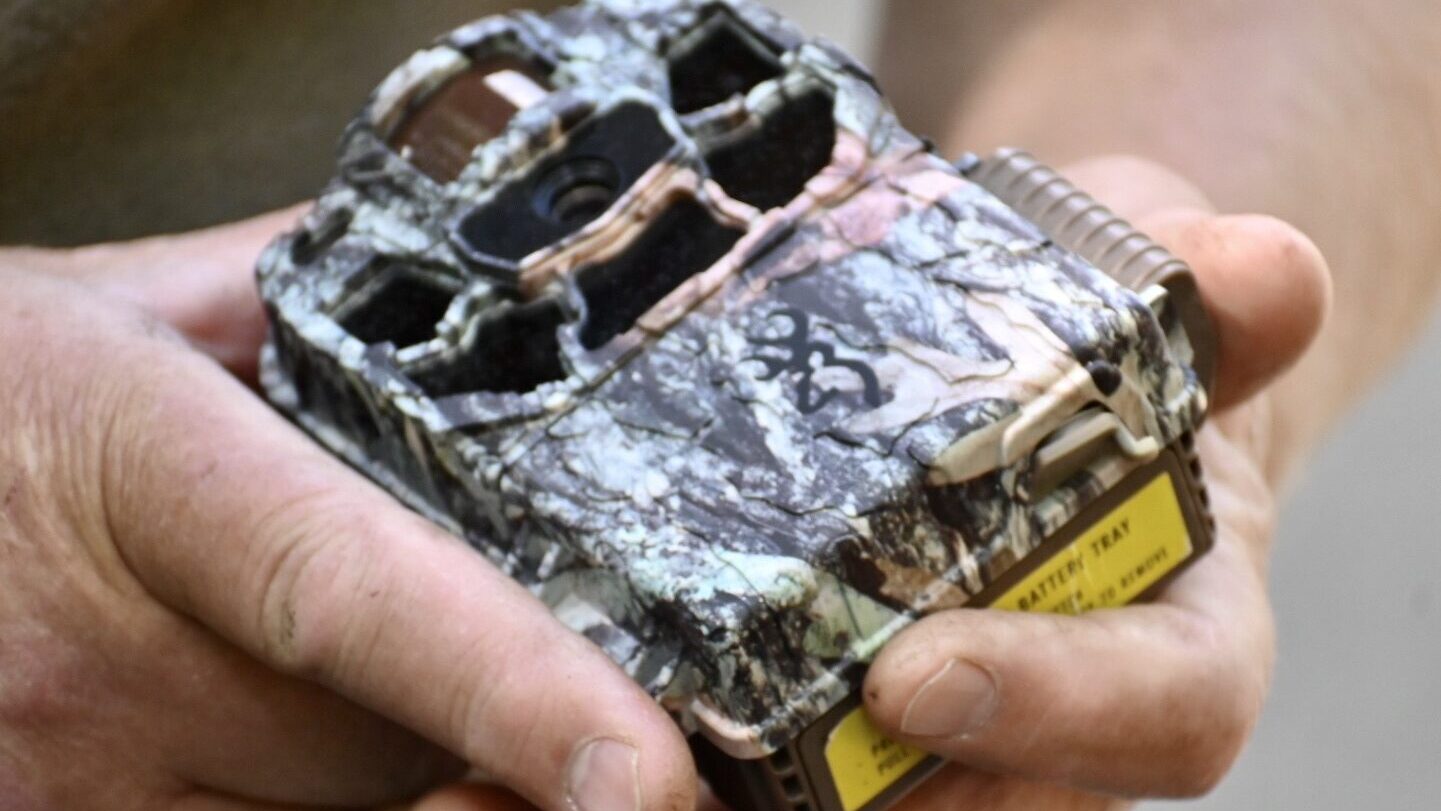
1. Simple is best: stick to the basics when choosing your first camera
You could spend upwards of $1000 on a device with all the bells and whistles – we’re talking play-back screens, Cloud storage, and live streaming straight to your phone! But the truth is, if you’re just getting started, a simple entry-level camera is all you need. Cam recommends the Browning Command Ops or the Browning Dark Ops trail cameras as a great place to start. These cameras are easy to use with simple menu-driven setups and take fantastic high-quality images.
While the Browning Dark Ops is a little more expensive, one of the benefits is its undetectable light source. This means pests can’t see any light emitted when the camera takes a photo – so you won’t risk spooking an animal when they trigger the camera at night. Cam uses these on his own property.
Cam’s bonus tip: when it comes to batteries, don’t skimp on quality. Some Energizer Lithium batteries should last you a couple of months. Also, ensure you have a big enough SD card to hold all your footage (preferably 32GB or 64GB).
2. Set yourself up for success with the correct camera placement
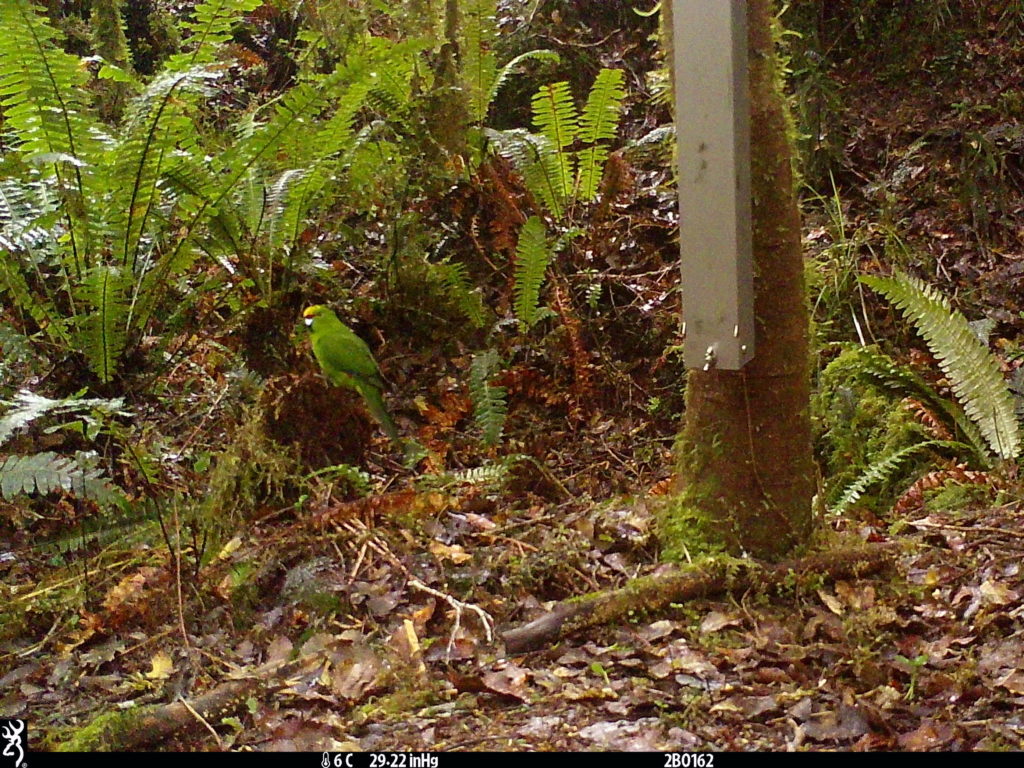
Finding the perfect placement is crucial when setting up your trail camera. If there’s an obvious animal trail, a concrete wall, a ridge, a river or a fallen tree, place your camera parallel with these linear features, as predators prefer to move along these. If you are facing your camera towards a device, you’ll need to ensure your trap is well positioned along linear features too.
Place your camera at chest height, facing down to the ground or device, and three to four metres from your target. Animals will approach from all different angles, so you want to cover a wide area. Before you switch it on – clear the area of any branches, plants or grass that will continuously trigger your camera.
Taking the angle of the sun and the moon into account is also important. If the light shines straight into your lens, it’ll make for a blurry image – especially when there is moisture (fog, rain, mist) about. To avoid this problem, position your camera facing south. This way, the sun or moon won’t directly interfere with your camera’s view, giving you better chances of capturing clear, detailed pictures.
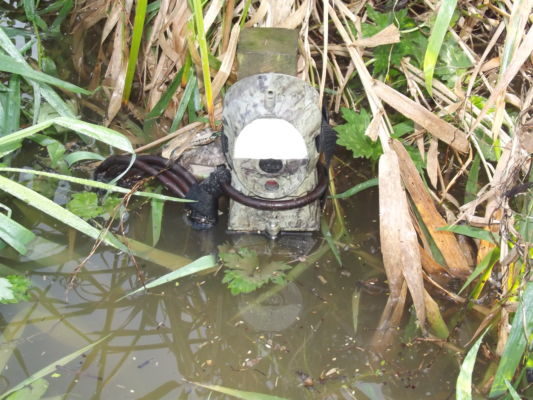
Unfortunately, you need to be aware of theft. Cameras are valuable and often the target of opportunists. So, if your camera is placed in an urban environment or even in the bush, consider chaining it in place to deter thieves, perhaps with a bike lock.
3. Switch things up by moving your camera around
If you don’t have success right away – don’t worry! Try moving your camera to different locations. This sort of experimentation is fun. The more you play around, the more you’ll learn about predator behaviour. Cam, who lives on a five-acre block with 18 traps, explains, “I have two cameras that I move around all the time on different traps at different times when I’m trying new baits and locations.”
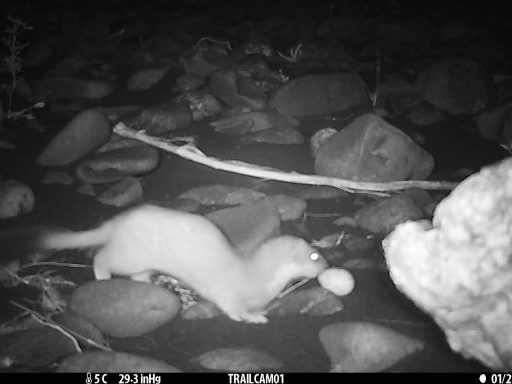
4. Camera settings: choose video mode to learn more about predator behaviour
When it comes to camera settings, Cam recommends 20-second video mode. This way, you’re detecting both the animal and its behaviour. Four out of five encounters with a device don’t result in any capture. But having a trail camera means you can capture these interactions and pinpoint exactly what’s going on. Why isn’t the animal interested in your trap? Or if it’s interested, why doesn’t it go in? What could you do differently? Do you have the correct traps for the predators you see on camera?
Analysing data, however, is faster if you have pictures to flick through. If this is a priority, consider selecting rapid fire in the settings. This means the camera takes a series of photos in quick succession as soon as it’s triggered.
5. Tasty treats: use a lure to draw animals in
Using a desirable lure, such as fresh rabbit, is a great way to attract predators. If you have multiple trail cameras, dragging bait in an onion bag between your devices increases the chances of animals interacting with all of them. Cam suggests placing your bait under a piece of wire mesh and pegging it to the ground. That way, the bait can’t be removed, so animals will keep visiting night after night, creating scent trails that attract even more animals.
Using this method can hold an animal in a place for a few days, meaning if you respond quickly, you have a higher chance of capture.